Consolidation identification |
  
|
Consolidation identification |
|
Consolidation identification is entered into a single property sheet with three tabs. This section allows you to enter information outlining your consolidation's various attributes.
The tabs are:
[Note: Entries with a light blue background are mandatory.
In this dialog general information regarding the name, location and classification of the consolidation can be entered.
Consolidation name may be any text string. To further identify the consolidation you can (optionally) use Prospect, Case Country, Block, Licence, Basin, Play and Reference
Name |
Enter the name of the consolidation. |
Case |
A further identification |
Prospect |
Enter the prospect appropriate to this consolidation |
Country |
Enter the country relating to this consolidation |
Block |
Enter the block relating to this consolidation |
Licence |
Enter the licence name appropriate to this consolidation |
Basin |
Enter the basin relating to this consolidation |
Play |
Enter the relevant play name |
Reserves class |
Enter the reserves classification of this consolidation |
Unit/Group |
This refers to the Group/Unit name defined in the 'User Options'. The default group name can be retrieved by clicking on the [<] button. Alternatively, a name can be manually entered and set as the new default by entering a name into the field and clicking on the [Set as default] button. |
Reference |
Enter a reference number/string |
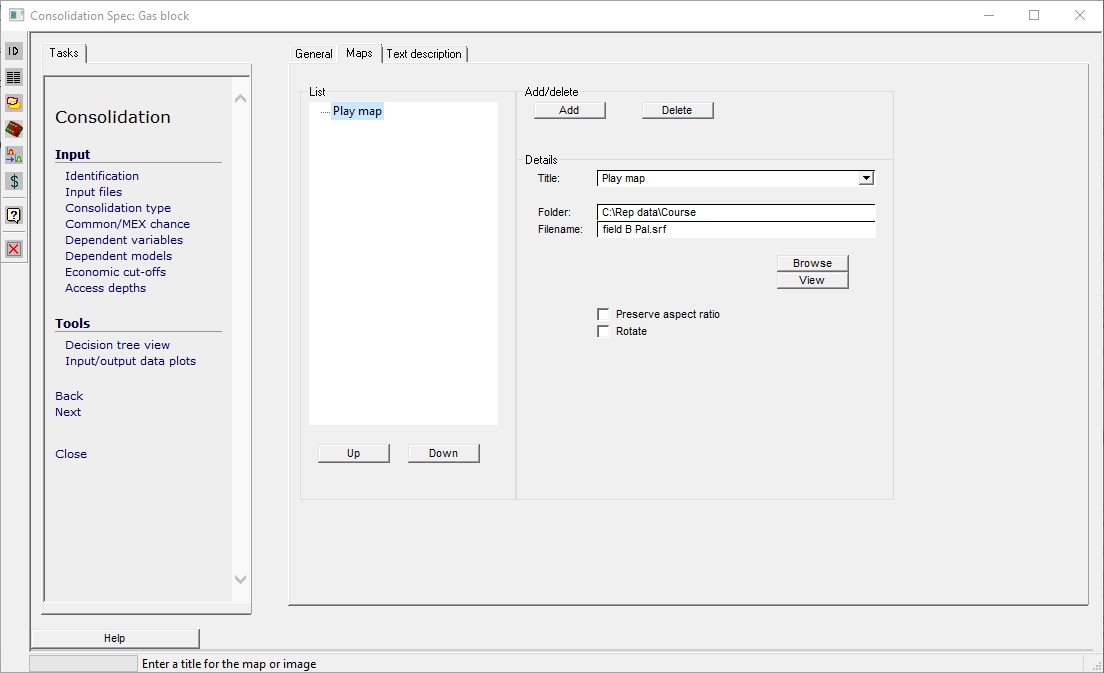
On the printed output sheets, space is left for various maps. There are two ways to fill in these boxes: skilful use of a photocopier or specifying .bmp files or other common graphics format (.jpeg files are common) if you have them somewhere on your system.
In the dialog, click the Add button to add an image file. Once the desired file is found, click OK and it is added to the list on the left. To edit an existing entry, click on it in the list.
Title |
Each map or image may be given a title. There is a drop-down list of common titles ("Seismic section", "Location map" etc.) but you can enter anything you like. |
Folder |
This is source folder with the image file |
Filename |
This is file name of the image file |
Browse |
Browse for a new location or file |
View |
Click to view the image. It is opened by the program associated with the file extension, as registered with your operating system. |
Preserve aspect ratio |
Check to preserve aspect ratio of the image when printing it. Otherwise, the image is stretch-and-squeezed to fit the box on the page. |
Rotate |
Check this box to rotate the image on the page. It it will be rotated clockwise. |
Up |
Move the current image up in list (and therefore the order in which it is printed) |
Down |
Move the current image down in list |
Add |
Add an image |
Delete |
Delete the current image |
Rotate |
Rotate image |
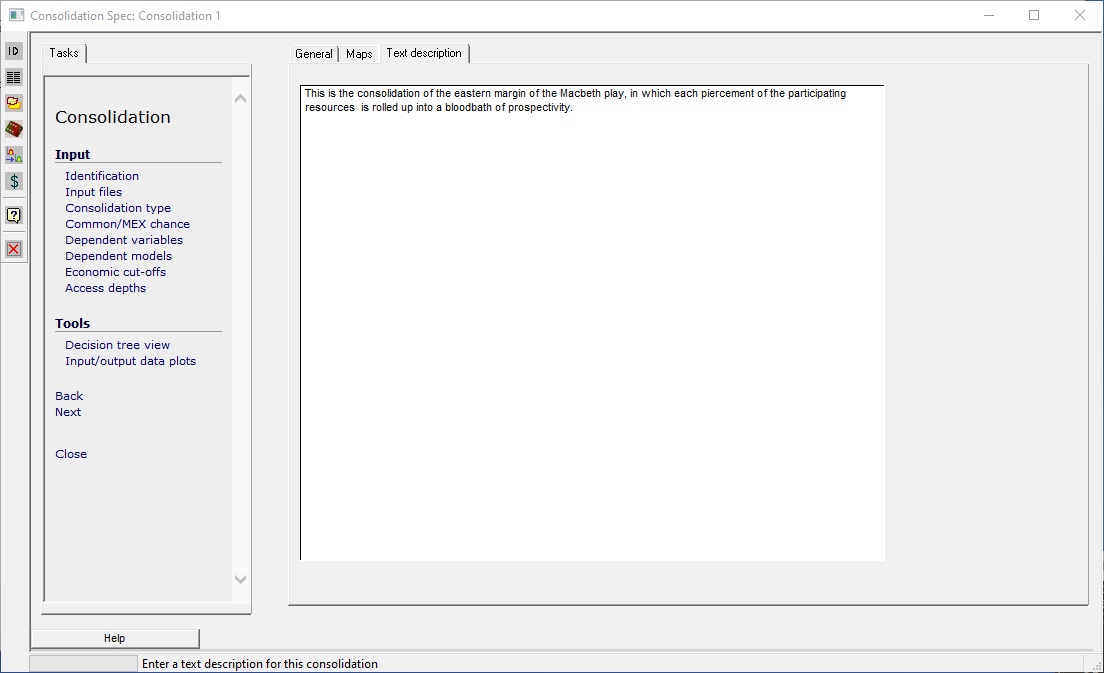
Under the Text description tab you may enter any text description of the consolidation.
[Note: You can cut and paste the text into or from any Windows program that supports cut and paste. To put data into the clipboard, highlight the text and press Ctrl-c (the "Ctrl" and "c" keys together) on the keyboard. To paste clipboard data into REP (or another Windows program) press Ctrl-v.]