Projects |
  
|
Projects |
|
A project is simply a list of prospects and consolidations. Creating and saving your own projects enables you to open those listed files with a single click. You can also export project data to XL ,and archive the data
The project menu can be accessed from the main REP dialog, the prospect summary or the consolidation summary dialog.
This help is split into:
You can also define custom attributes to be defined for each entry in the project.
In REP there will always be one - and only one - project open at any given point. This is called the current project.
Any open prospects or consolidations are automatically considered to be part of the current project. Each prospect and consolidation can be listed within as many projects as you want.
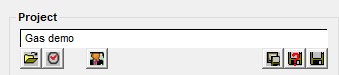
The name of the current project is shown above the prospect and consolidation trees on the summary screen.

In the example above, the current project is the Default project. This is the case whenever you start a REP session (unless you choose always to open the last project). The Default project is empty at the start of each session, meaning that none of the information within the Default project can be saved.
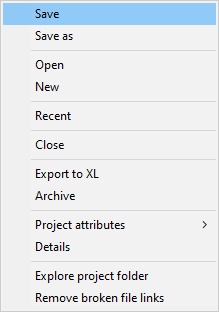
The project menu can be accessed in a number of ways, but the easiest is to click the drop arrow at the right of the project name, either in the prospect or consolidation main dialog:
Buttons |
|
|
Open an existing project |
|
Bring up a list of recent projects |
|
Manage the project |
|
Save all files in the project |
|
Save current project with a new name/location |
|
Save current project. You need to do this - project changes are not auto-saved. |
To save a project, choose Save or Save as from the project menu. There is also a save icon below and to the right of the project name.
If you have loaded a project, Save will just save it. It your current project is the Default, you will get this "Save as" dialog:
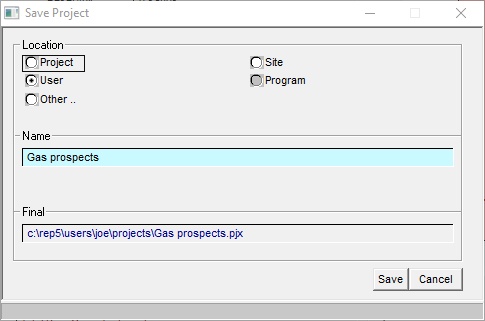
The project definition file (.pjx) can be saved in a number of standard places:
Project |
Saves the .pjx definition file along with all the other project definition files. It's a bit circular, because if you move the project folder the definition goes along with it. |
User |
Saves the definition along with your other program defaults. Other people can access the project, but they'll have to browse to it. |
Site |
Projects saved here will be visible to all users on the network. It saving projects here doesn't seeem to work it'll be because of permissions - see your IT administrator. |
Other |
Brings up the standard windows browser, so you can save the project definition anywhere. |
To open a project, choose the "open" option from the menu. You will get the "standard file" open dialog:
See above for an explanation of the difference between Site, User and Project. To browse to a definition in another area (perhaps another user's personal space - beware!) use the file open icon. ![]()
To generate a new project, choose the New from the project menu
This dialog is identical to the Save as entry above, the difference being that any files currently loaded are removed, and you start from new.
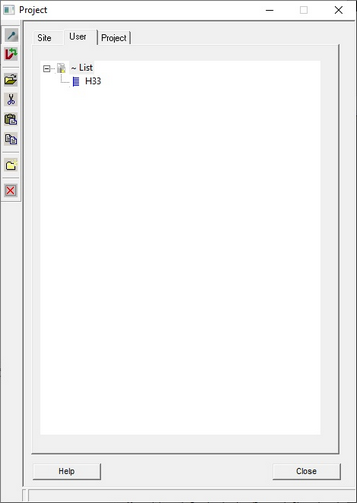
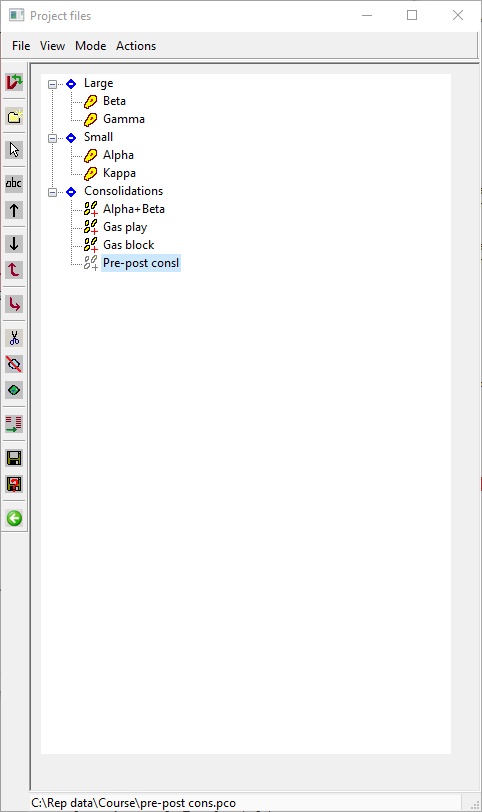
You can reorder and subdivide the list of prospects/consolidations in a project. Click the ![]() button or choose Manage from the file menu. A new window is shown with the names of all the prospects and consolidation in the project.
button or choose Manage from the file menu. A new window is shown with the names of all the prospects and consolidation in the project.
On the left is a window where all the entries in the project are just listed - probably in the order in which they were created/added. It is clear that organising prospects into categories makes easier to work with the data,
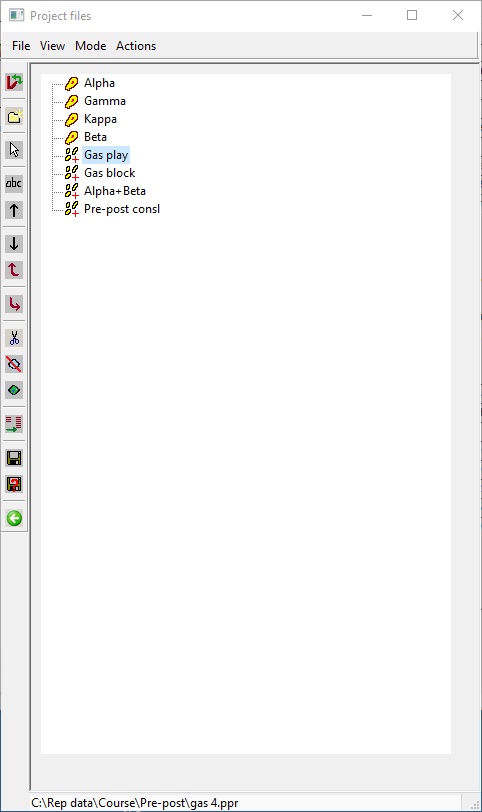
Prospects (single volume) have this icon ![]() , consolidations are shown like this:
, consolidations are shown like this:![]() . Nodes are
. Nodes are![]() . Hidden entries (see below) have their icons somewhat greyed out.
. Hidden entries (see below) have their icons somewhat greyed out.
You move entries up and down the list by clicking and dragging. Other tasks are described below
Menu |
|
File |
|
Save, Save as |
Save the project and save as |
View |
|
Expand / collapse tree |
Where there are multiple tree branches (levels) expand them all or collapse them all |
Show all / show active |
Entries can be either hidden or active (see |
Mode |
|
Select mode (a toggle - see below) |
Select one or more prospects so that what you do to one is done to all. For example, if you want to hide several entries in one hit, go into select mode, select the ones you want to hide (their icon goes green) and then click the hide button. They all get hidden. |
Actions |
|
New node |
Make a new node in the tree structure |
Remove broken file links |
The project list is a set of pointers to files. If some demented colleague deletes a file its name can remain in the list. This option checks all the names, and makes sure there is a file to which it is linked. If there isn't then the entry in the project is removed. |
Remove empty nodes |
If a node has no entries this option deletes it. |
Custom categories |
Use data in the prospects (e.g. play, or hydrocarbon type) to set up categories - see here |
Sort tree |
Sorts the tree - alphabetically. |
|
|
Buttons |
|
|
Expand/collapse tree |
|
Make a new node at the current position (actually below the current highlighted entry, but of course you can drag it where you want it. You are prompted for a name. |
|
Select mode toggle. Select one or more prospects so that what you do to one is done to all. For example, if you want to hide several entries in one hit, go into select mode, select the ones you want to hide (their icon goes green) and then click the hide button. They all get hidden. |
|
Rename the current entry. This will update the prospect/consolidation name in the prospect/consolidation file (but you will need to save the file it to keep the change). |
|
Move the current entry up. |
|
Move the current entry down. |
|
Promote an entry at a lower level up one level |
|
Demote an entry from its current level to a lower level. This makes it a "child" of the entry above (so you can't demote the first entry in the list). |
|
Delete the current entry. This ONLY removes it fromt he project list. It does not delete the prospect or consolidation file. |
|
Hide the current entry |
|
Show (unhide) the current entry |
|
Toggle between showing all entries - both hidden and active - and only active |
|
Save the project |
|
Save the project with a new name. |
|
Back: close "Manage" mode. |
|
Use data in the prospects (e.g. play, or hydrocarbon type) to set up categories. Here's the dialog:
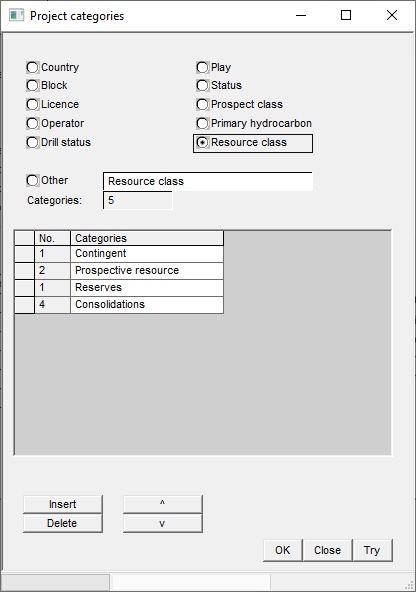
Choose one of the predefined categories, or click "Other" and choose a category from the full list of possibilities. Note that all consolidations are in a fixed category "Consolidations", but of course you can drag them in the tree.
When you choose a category the program will scan the files in the project and show the different categories it has found in the table. Click "Try" to see see how the categories look in project tree.
You can choose to make categories from numerical values: for example, recoverable gas p50:
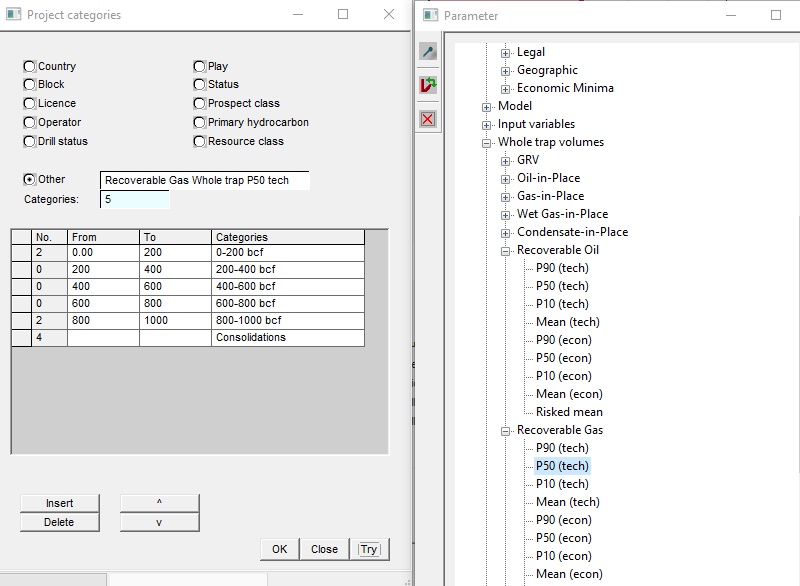
The program will try to set up sensible ranges, but (a) you can edit them in the table and (b) you can change the number of categories in "Categories" entry in the dialog.
Browse to the project file you want to import - the dialogs are the same as opening a project. The prospect and consolidation files in the project are added to the current project.
You can export all the project data to a new XL worksheet. Click ![]() , and choose the options you want from the dialog:
, and choose the options you want from the dialog:
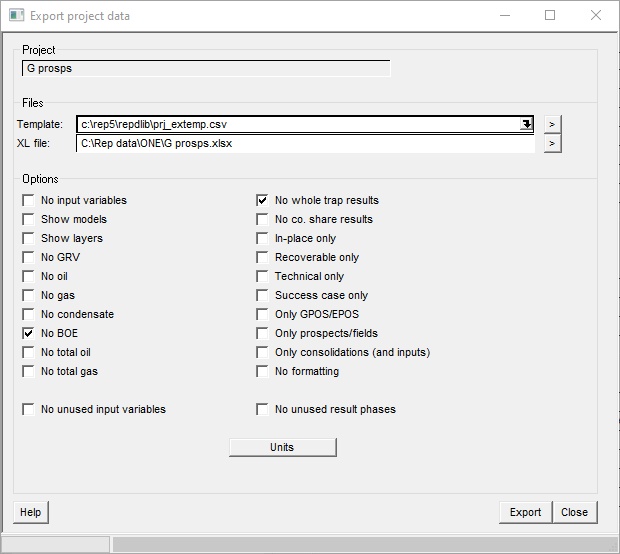
The basic template supplied is called prj_extemp.csv and this is an ascii file which can be edited in the usual way. You can change the template used in the dialog above. The drop down arrow will give a list of recently used templates.
The check boxes allow you to export a subset of the full template definition.
Click Export to create the spreadsheet.
You can send all the project data to an archive folder.
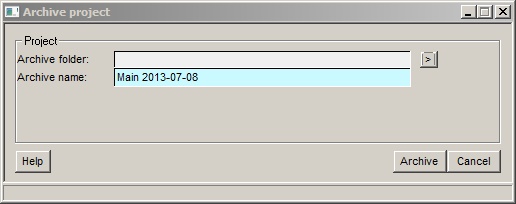
You need to enter a folder (presumably in some safe and well-backed-up area) and an archive name.
REP makes a new folder called <Archive name> in the archive folder <Archive folder> can copies all the current project files into it.
A project is fundamentally a list of REP files, and sometimes these can get moved or lost. Use this option to remove any broken links. If any are found save the project (you are prompted to do so)